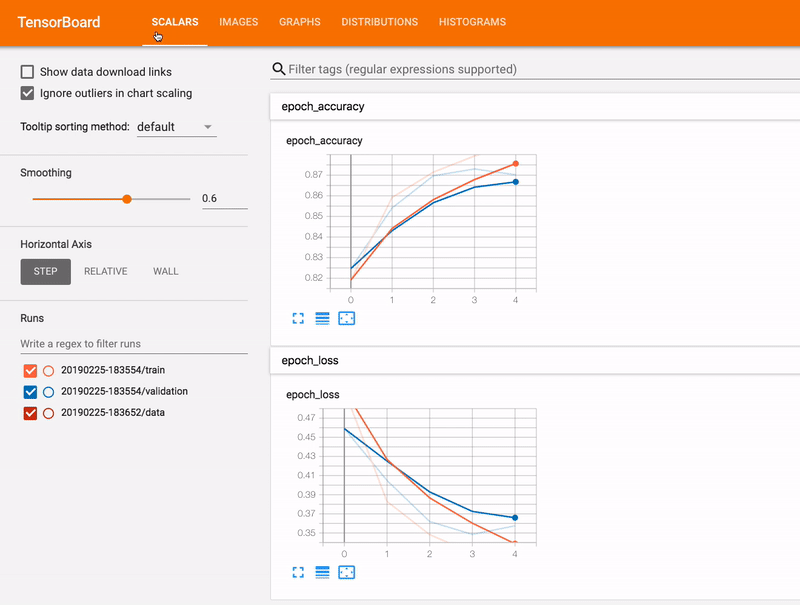
TensorBoard
![]()
Step 0: Prior Assumptions
You have submitted (and it is now running on the mel0000 node of MeluXina) a job that most likely you have used the srun command and used the corresponding OPTIONS (account, nodes, time, partition, qos, etc...).
srun *OPTIONS python training_my_model.py
The training_my_model.py contains a training workflow of a DeepLearning model using TensorFlow. Very likely, that means the script contains a line with the following structure:
model.fit(..., callbacks=[..., my_tensorboard_callback, ...])
The training workflow has a tensorBoard callback. That is:
my_tensorboard_callback = tf.keras.callbacks.TensorBoard(...)
The TensorBoard callback redirects its log entries to the my_log_directory directory somewhere on the PROJECT storage partition.
log_dir = my_log_directory
Step 1: Running a TensorBoard instance
We being by launching a Tensorboard instance in MeluXina to be able to parse and understand the files contained in the my_log_directory directory. We do so by launching yet another job with the following minimal settings:
#!/bin/bash -l

#SBATCH --account=p20xxxx
#SBATCH --job-name=TensorBoard
#SBATCH --partition=cpu
#SBATCH --qos=short
#SBATCH --time=6:0:0
#SBATCH --nodes=1
#SBATCH --ntasks-per-node=1
#SBATCH --hint=nomultithread

# Load Modules
module load TensorFlow/2.6.0-foss-2021a-CUDA-11.3.1

# Launch a tensorboard instance
srun tensorboard --logdir my_log_directory --port 6006 1> script2.out 2> script2.err &
wait
Pay attention to the following important aspects of the script:
- TensorBoard can be run on a single CPU node.
- We must import the Tensorflow module first to have access to the TensorBoard suite.
- The
--logdirflag has been initialized tomy_log_directory. - The
--portflag has been initialized to6006. - The errors
Once this job has been submitted and is on execution, we continue to the next stage.
Step 2: Forwarding the port to our local machine
On our local machine, we will follow these instructions:
- Connect to MeluXina via the following ssh command (see here more details on how to connect):
ssh -L 6006:localhost:6006 my_username@login.lxp.lu -p 8822
- Once connected to MeluXina and on the login node, we will forward the port to the compute node via the following ssh command:
ssh -L 6006:localhost:6006 mel0000
- Once the two ssh commands have been executed and we have a terminal session logged into the compute node
mel0000, we leave that terminal session untouched and redirect our internet browser to the following address:
localhost:6006
Step 3: Enjoy
Congrats! This should result in a fully-functional session of TensorBoard open in our browser and monitoring the training of your DL-model on the mel0000 node.
Pro-Tip: Running TensorFlow and TensorBoard in a single job
By a slight modification of the bash script presented in Step 2, one can submit both the TensorFlow job, which includes the training workflow and the TensorBoard, which includes the monitoring.
To do so, we will request a single CPU/GPU node and distribute the allocated resources between the two subtasks:
#!/bin/bash -l

#SBATCH --account=p20xxxx
#SBATCH --job-name=TF2_n_TBoard
#SBATCH --partition=gpu
#SBATCH --qos=short
#SBATCH --time=6:0:0
#SBATCH --nodes=1
#SBATCH --ntasks-per-node=2
#SBATCH --hint=nomultithread

# Load Modules
module load mod1, mod2, mod3, etc...
module load TensorFlow/2.6.0-foss-2021a-CUDA-11.3.1

# Launch python (TF2) script
srun --exact --ntasks 1 --gpus 4 \
  python python training_my_model.py 1> script1.out 2> script1.err &

# Launch TBoard job
srun --exact --ntasks 1 \
  tensorboard --logdir my_log_directory \
  --port 6006 1> script2.out 2> script2.err &

wait